
openBVE Help and Information
This section of the site is designed to help you get started with the realistic openBVE train simulator in Windows 10 and macOS Mojave (as well as Ubuntu, Windows 7/Vista/XP in the archives), as well as guide you through the installation and first use of the Birmingham Cross-City South route to enable you to start driving. Some parts of this guide are geared towards novice users.
Contents
macOS (Mojave) Users: [Click here to select a different operating system]
Page 1: (Current Page)
Downloading and installing openBVE on macOS
You should have downloaded the following file:
- openBVE-n.n.n.n.dmg (where n is a version number)
Installing openBVE on your Mac.
- Locate the 'openBVE-n.n.n.n.dmg' file you downloaded (likely in your Downloads folder which you can open from your Dock or via Finder), and double-click the file:
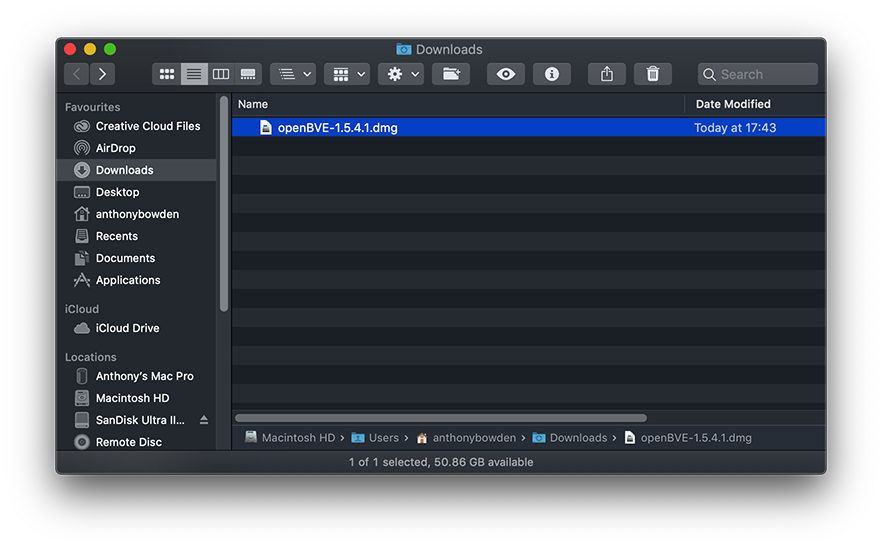
- The contents of the dmg file will be shown in a new Finder window:
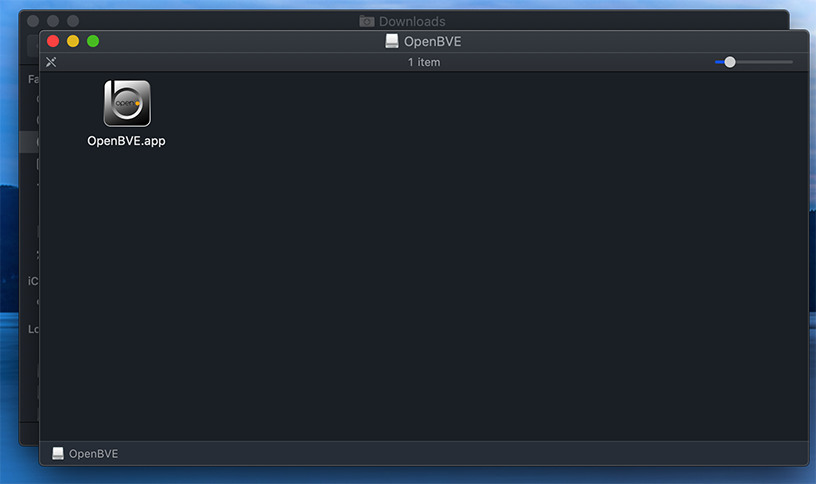
- Drag the 'OpenBVE.app' file to your Applications folder (likely on your Dock):
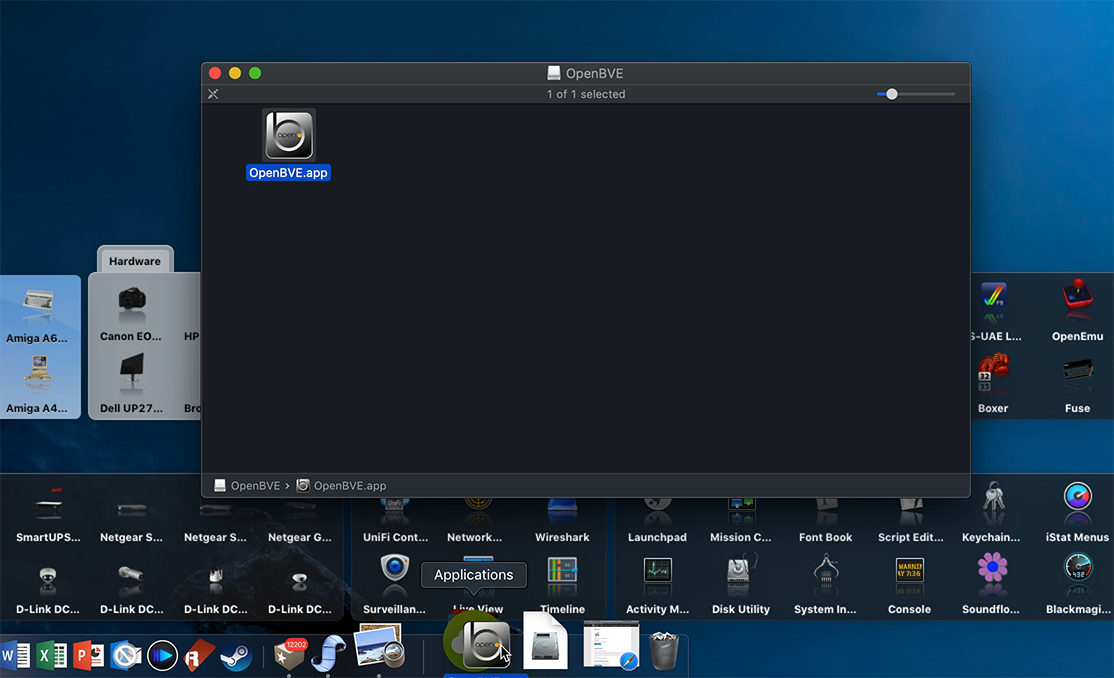
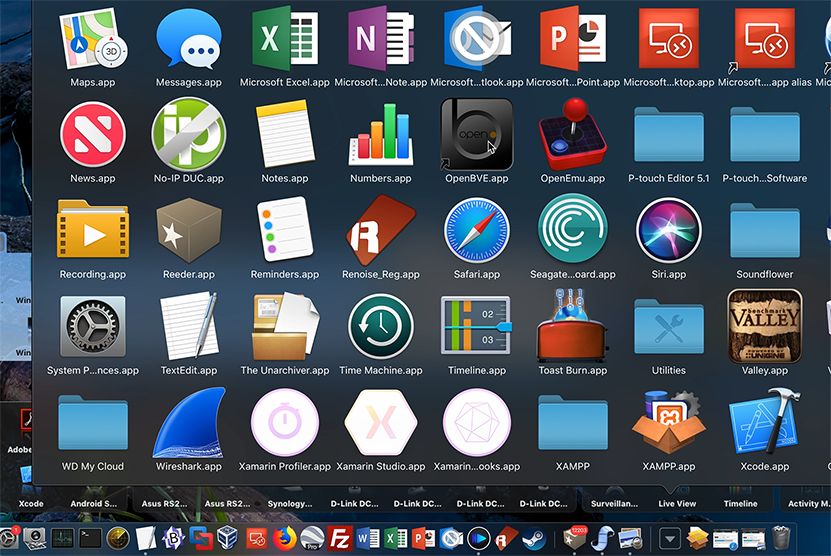
- Open your Dock, and click the OpenBVE.app icon:
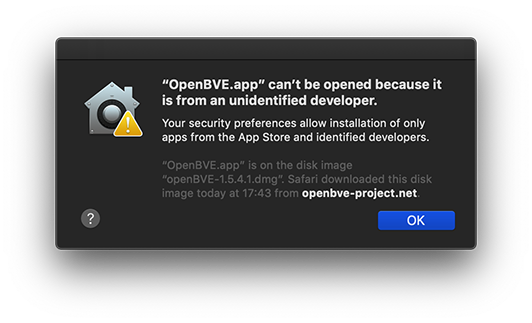
- You may be presented with a dialog which prevents you from launching the app - click OK:
- Go back to your Dock, and click the 'Open in Finder' icon:

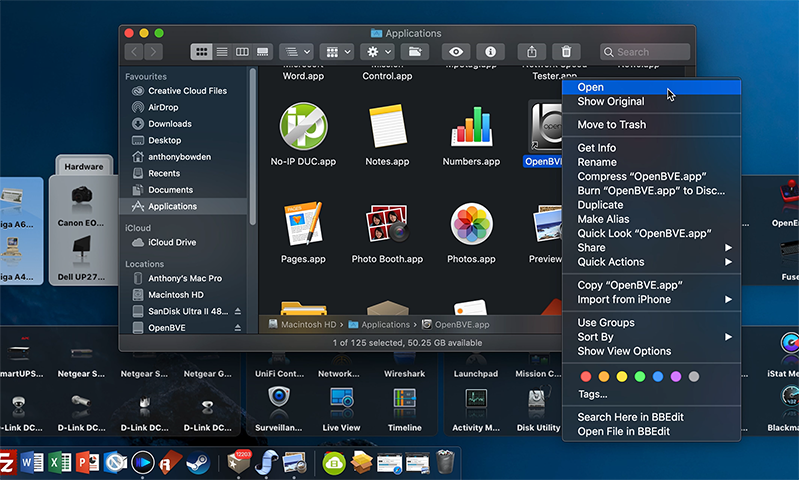
- Find the OpenBVE.app icon and right click the icon, and choose Open:
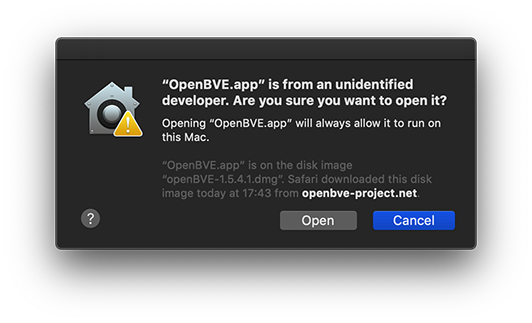
- You will now be given the option to Open the OpenBVE app - click Open:
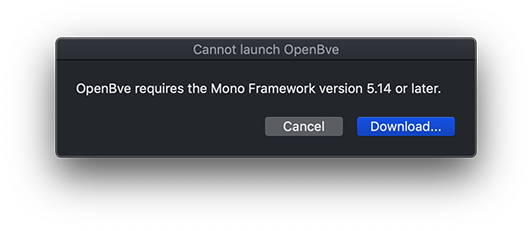
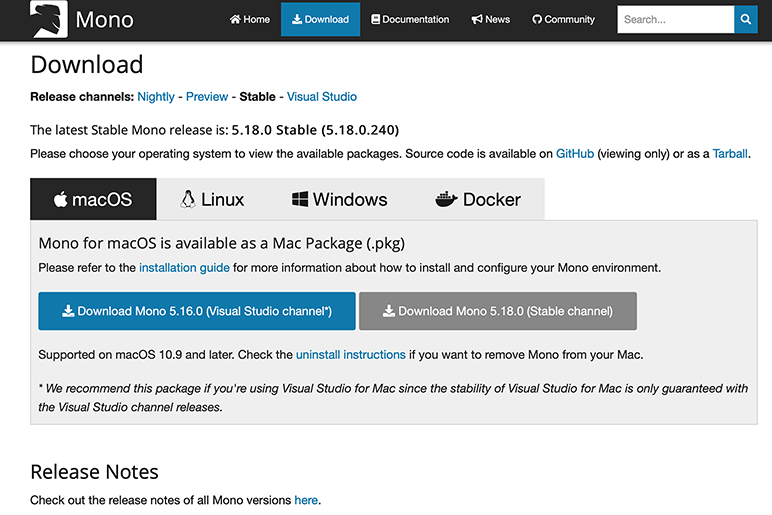
- You may be presented with a message from OpenBVE, stating that it requires the Mono Framework if it is not installed. Click Download...:
- On the Mono download page which should have opened in a new Safari window/tab, click the 'Download Mono 5.16.0 (Visual Studio channel) download link:
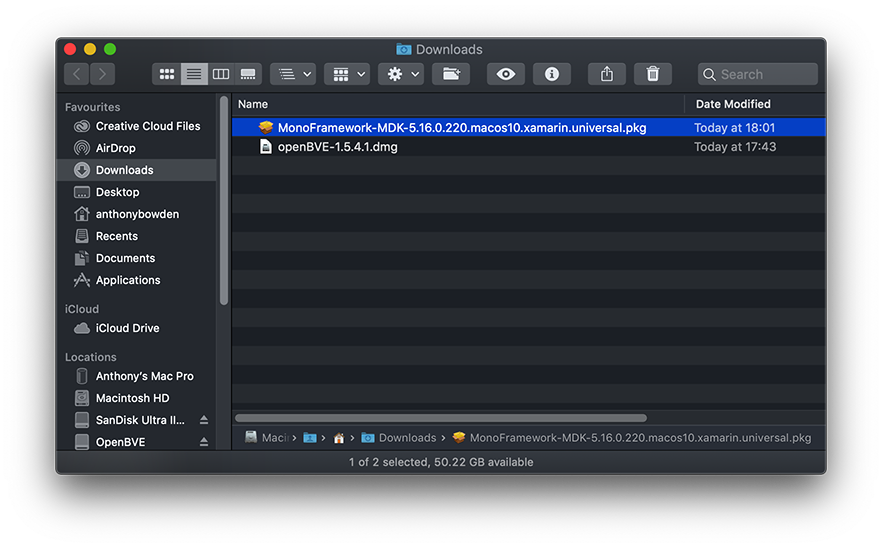
- Go back to your Downloads folder, and double click the 'MonoFramework-MDK-n.nn.n.nnn.etc.pkg' file:
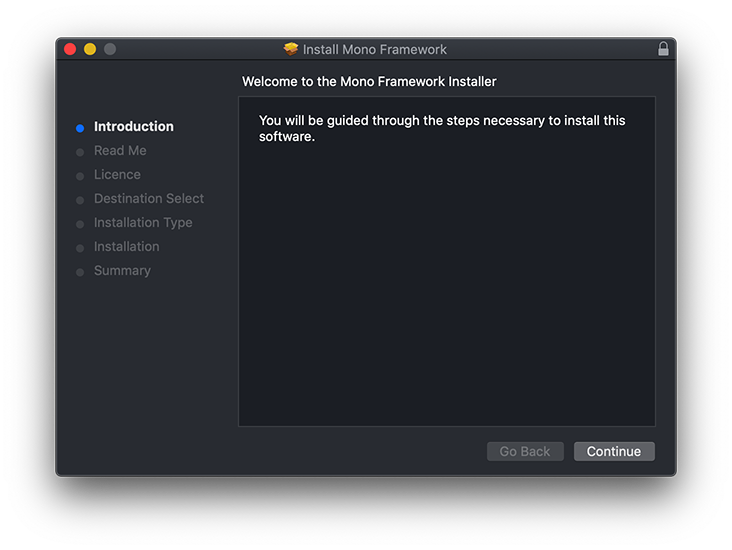
- The Mono Framework installer will launch - click Continue and follow the prompts:
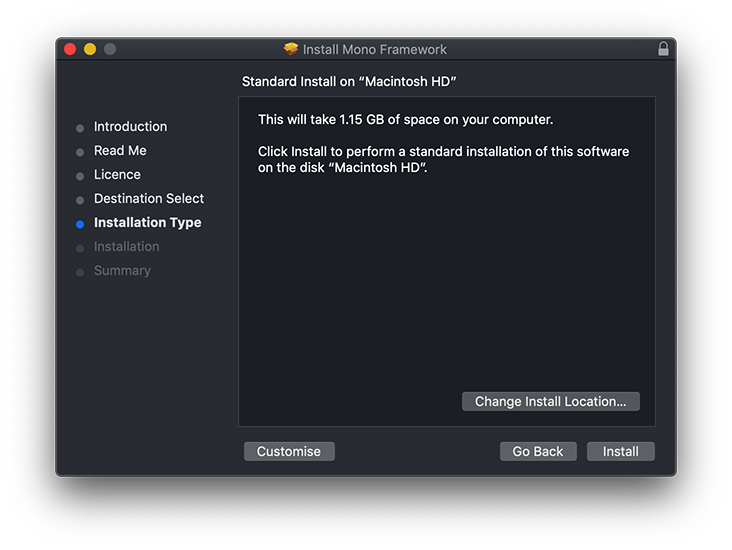
- On the Mono Framework 'Installation Type' page, leave the installation location as it is, and click 'Install' (you may be asked for your password):
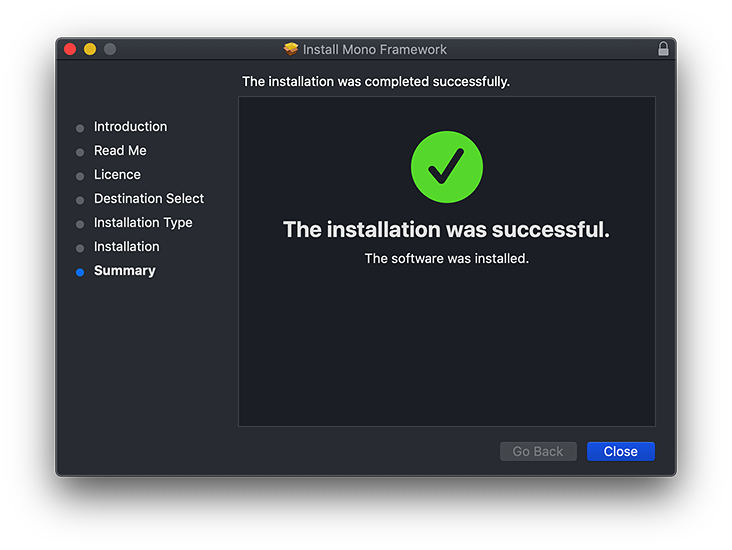
- If instalation is succesful you'll see this page - click 'Close':
- You may be asked if you wish to move the MonoFramework package that you just downloaded to your Trash, you can safely do so:

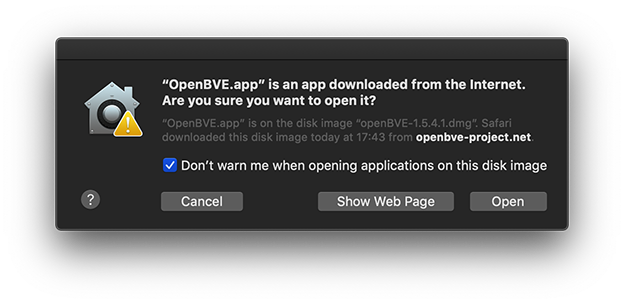
- Now launch OpenBVE.app again via Dock > Applications, and you should see the following dialog. Place a tick in the 'Don't warn me when opening applications on this disk image' checkbox, and click 'Open':
- You should now be presented with the openBVE user interface:
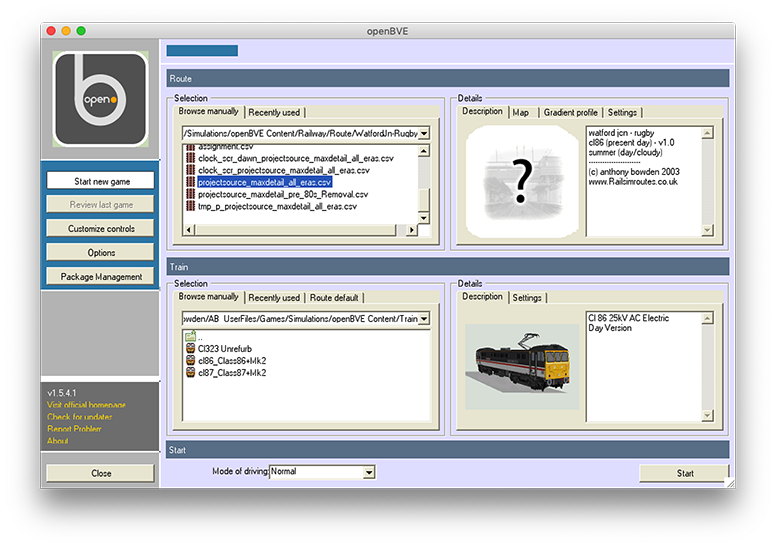
- Note: It is normal to see the form controls refreshing when the application opens.
You can also choose to install your routes and trains in any folder of your choice.
You can now return to the openBVE Help Contents page or the Railsimroutes.net homepage.
Windows 10 users can read on for a guide to using openBVE in Windows 10.
Ubuntu users can view an archived installation guide here.
Content last updated: 10th April 2019